

Introduction to Veneer Edge banding
Since the early 1900's, craftsmen of every imaginable industry have been utilizing manufactured wood materials such as plywood, particleboard, and medium- or high-density fiberboard because of their amazing versatility and durability. Sheets of these materials can be cut and even bent into any number of shapes and sizes for use in myriad applications.
However, the edges of these sheets, if untreated or cut, are vulnerable to decay because the exposed layers of fibers readily absorb moisture. These edges are also unappealing to the eye, and so cannot be left visible in cabinetry or other fine woodwork. Luckily, there is one solution to both of these problems. That solution is edgebanding.
The term "edge banding" refers to both a product and a process, just like the term "framing" in construction. The product is a thin strip of either wood or synthetic material. It is anywhere from 0.5mm to 3mm (~1/50"-⅛") thick, which depends on the material and application. It is available in rolls usually ranging in width from ½" to 1-¾" to match the thickness of whatever board needs to be edge banded, though craftsmen can order custom widths if necessary.
The process of edgebanding is simply the act of applying the product to boards. We will discuss this process in detail later.
Types of Veneer Edgebanding
Edgebanding is available in synthetic material or natural wood. For the purposes of this article, we are going to focus on the natural options, also referred to as "veneer edgebanding."
A wood veneer is a very thin sheet of wood cut from a solid log or block. These sheets have been used by craftsmen as far back as the Roman and Egyptian empires, and they can be put to use in a variety of functions. Plywood, for example, is composed of three or more layers of veneers glued together in large sheets, with successive layers oriented at 90 degrees to each other, adding strength to the board by changing the direction of the wood grain.
Veneers of rare and beautiful wood can also be used to cover structural pieces of more common wood in cabinetry and other crafts. Veneer edge banding is a long and narrow strip of wood veneer used to cover the visible edges of plywood or other composite boards.
Veneer Edge banding Backers
There are three basic types of veneer edge banding backers, differentiated by their methods of application and adhesion. They are:
Automatic: This material is applied with an edge banding machine or "bander." It is "fleece backed," which means the veneer is bonded to a layer of non-woven fabric. This fabric allows the wood to flex without splitting and also serves to facilitate adhesion to the product surface when glue is applied.
Pre-Glued: This material is backed with a heat-activated glue. It is able to be stored in rolls without sticking to itself, and when it is applied to the project surface with a heat source, the glue is activated and forms a solid bond.
PSA: Pressure-Sensitive Adhesive backed edge banding is also referred to as "peel and stick" edgebanding. It comes backed with an adhesive which will bond to the project surface when firmly pressed on. In the roll, the adhesive layer is covered by a thin plastic strip which, as the nickname implies, is peeled off in order to stick the edgebanding onto the project.
Tools for Applying Veneer Edgebanding
What tools do you need for veneer edgebanding? The answer to this question depends on the scale of your work. If you are edgebanding a single project, or even operating a small professional production, the tools you will need are quite small and simple, and you may already have them in your home or shop.
If you intend to produce edgebanded products at a commercial scale, then you will want to invest in some pieces of equipment that will drastically increase your efficiency rate of production. Let's walk briefly through the steps of edgebanding a single project with the basic tools necessary for the job. Bear in mind that there are many possible variations of these techniques.
Steps for Apply Veneer Edgebanding
If you would like to watch instead of read, there is a great video put together by A Concord Carpenter that explains not only how to apply real wood veneer edge banding but also the tools needed and the methods to make application easy.
Step 1: Veneer Edgebanding Preparation
Your boards are cut and ready for edgebanding. Now you will need to look closely at the cut edges and ensure that they are perfectly level and smooth, because your edgebanding will not always hide imperfections. Place the board into a bench vise to keep it stable while you work.
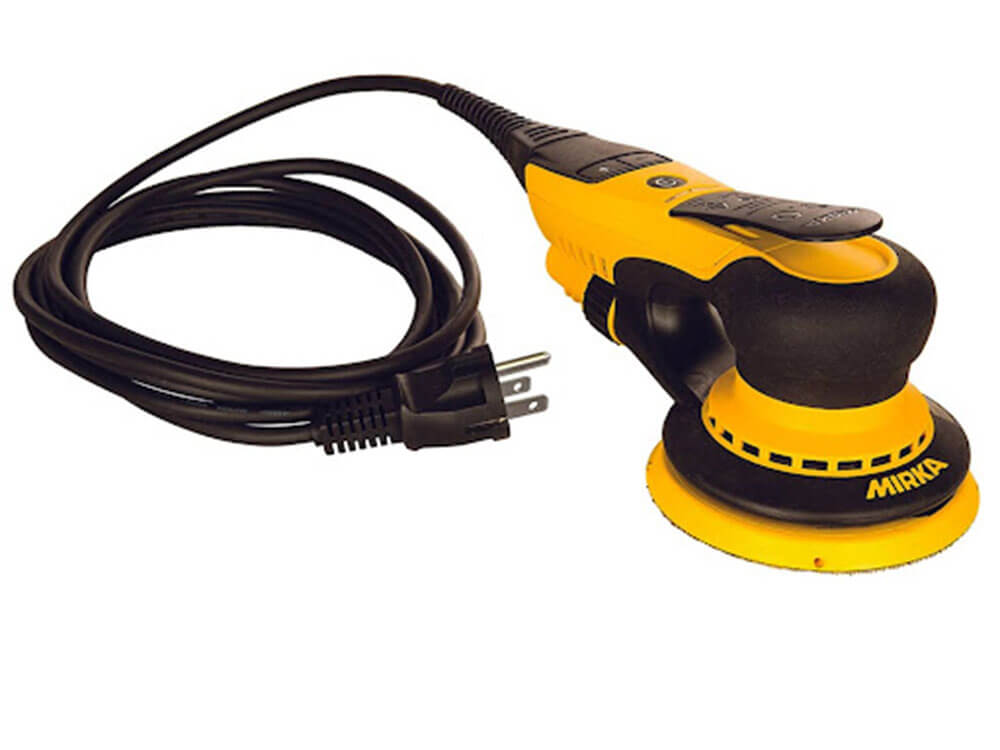
Use a random orbit palm sander or some sandpaper on a sanding block to level the surface.
Once your surface is level, you can cut your edgebanding. You will use either Pre-Glued or PSA edgebanding for small scale production.
Note: If you are going to use an edgebanding machine, you can use "Automatic" fleece-backed edgebanding. Your machine will take care of some or all of the following steps for you.]
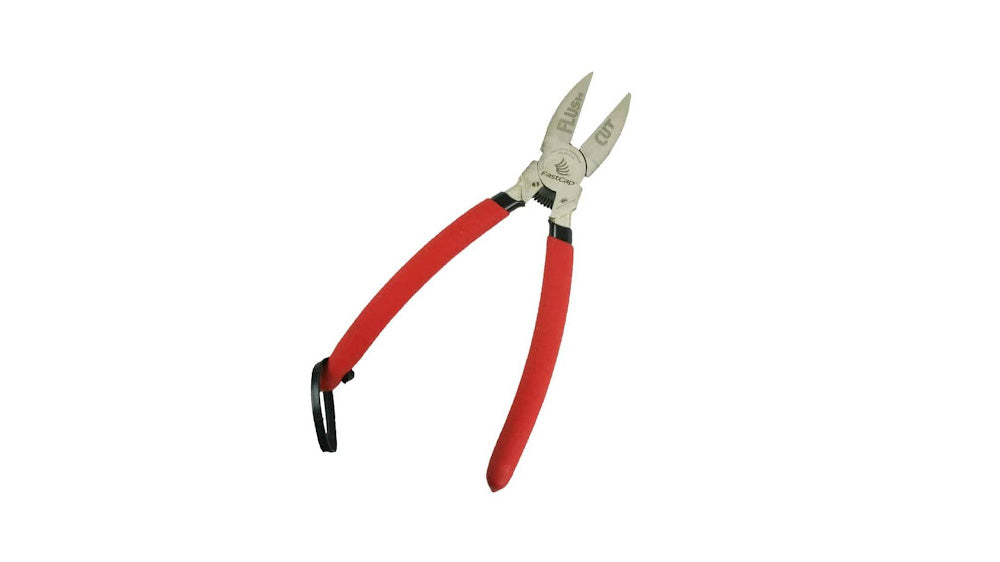
Use a Tape Measure and a pair of Flush Cut Pliers or a Razor Knife to cut a piece of edge banding that is 1" longer than the edge that you are about to cover. Make sure that you are using a roll of edge banding that is wider than the thickness of your board.
Step 2: Veneer Edgebanding Adhesion
Adhesion For Pre-Glued Edgebanding
Leaving your board in the bench vise, lay your piece of edge banding on the prepared surface. Ensure that it is nicely centered in both directions, and secure it with a few pieces of painter's tape across the edgebanding and onto the board surfaces, i.e., perpendicular to the edge (This step may not be necessary if your edge is not very long, and some craftsmen will prefer to skip it anyway).
You'll want to use as little tape as possible; place one piece near each end and one more every few feet down the edge you're working on.
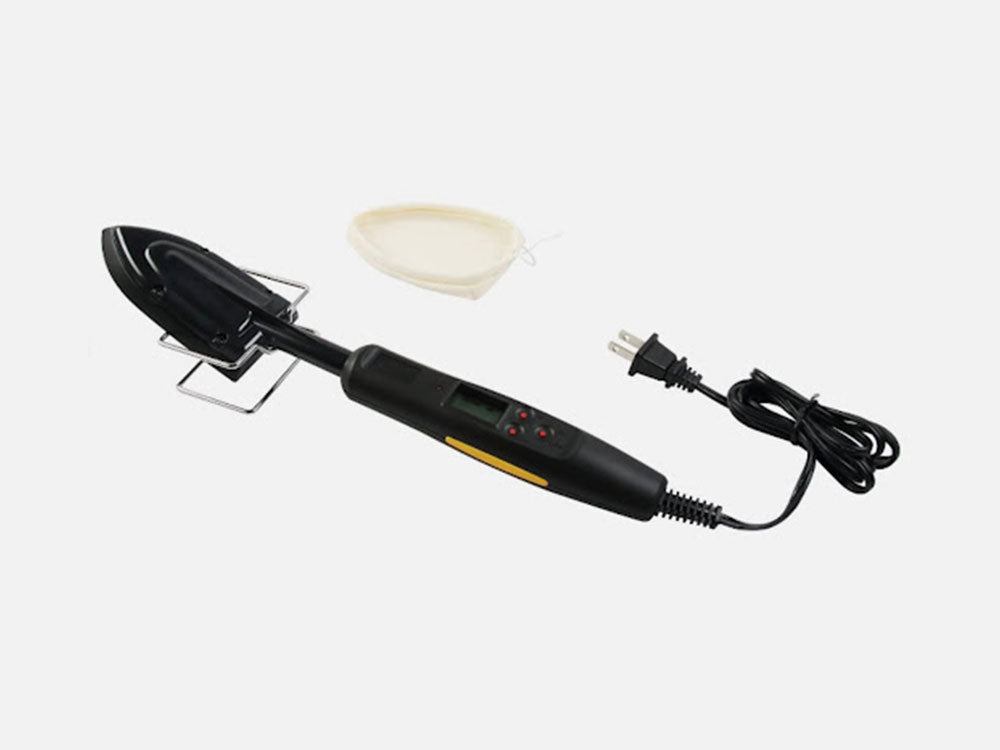
Now you will apply some heat to activate the adhesive on the veneer edgebanding. You can use an edgebanding iron for this process, but a simple household iron will work just fine. Turn the heat on the iron up to 400 degrees, or up as high as possible if it doesn't have heat-specific settings. Quickly and smoothly run the iron over the edge, removing the tape as you go. The iron will burn the wood if you leave it in one place for too long, so keep it moving. You'll know that the glue is thoroughly activated when the wood veneer surface is almost too hot to touch.
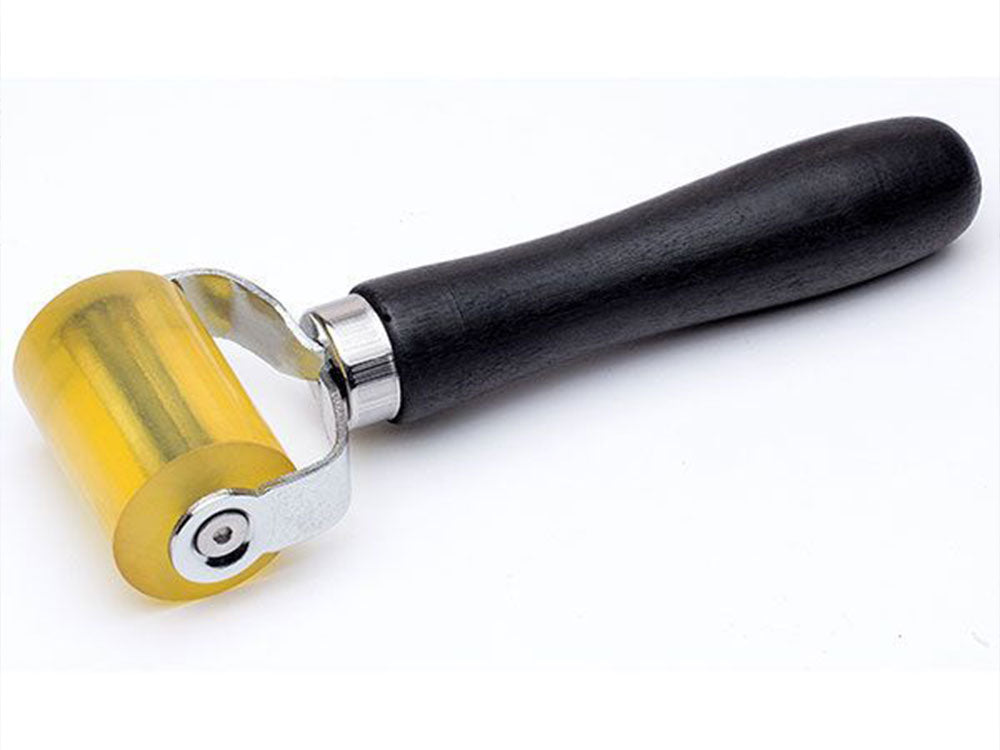
As the glue is cooling, run over the surface of the edge with a woodworking roller to work out any bubbles that may have formed. The glue will adhere quickly, but it won't set completely until it cools.
Adhesion For PSA (Peel and Stick) Edgebanding
Leaving your board in the bench vise, peel the backing off of the piece of edgebanding that you have cut and place it onto the prepared edge, centered in both directions. Working out from the center, run over the whole edge with a Woodworking Roller until all bubbles have been worked out and the edgebanding is smoothly and firmly attached.
Step 3: Trimming
You now have a board with a firmly and evenly attached piece of edgebanding, which is hanging off by a half inch on each end, and has a lip overhanging the board surfaces as well.
Trimming the Ends
First, you'll trim the ends. You can use the flush cut pliers again to trim the ends flush, or you can remove the board from the vice and place it edge-down on your work bench. Then use your razor knife to score the backside of the overhanging end flush to the corners. Lift the board off the bench, and break off the ends by pressing downward toward the scores you just made. Alternatively, you can use an Edgebanding End Trimmer for a consistent and high quality cut.

Trimming the Vertical Edges
Next, you'll remove the edges overhanging the top and bottom of the board. There are a number of different Edgebanding Edge Trimmers commercially available. Be careful with these. Many of them are cheap and not well designed, and can easily damage your veneers.
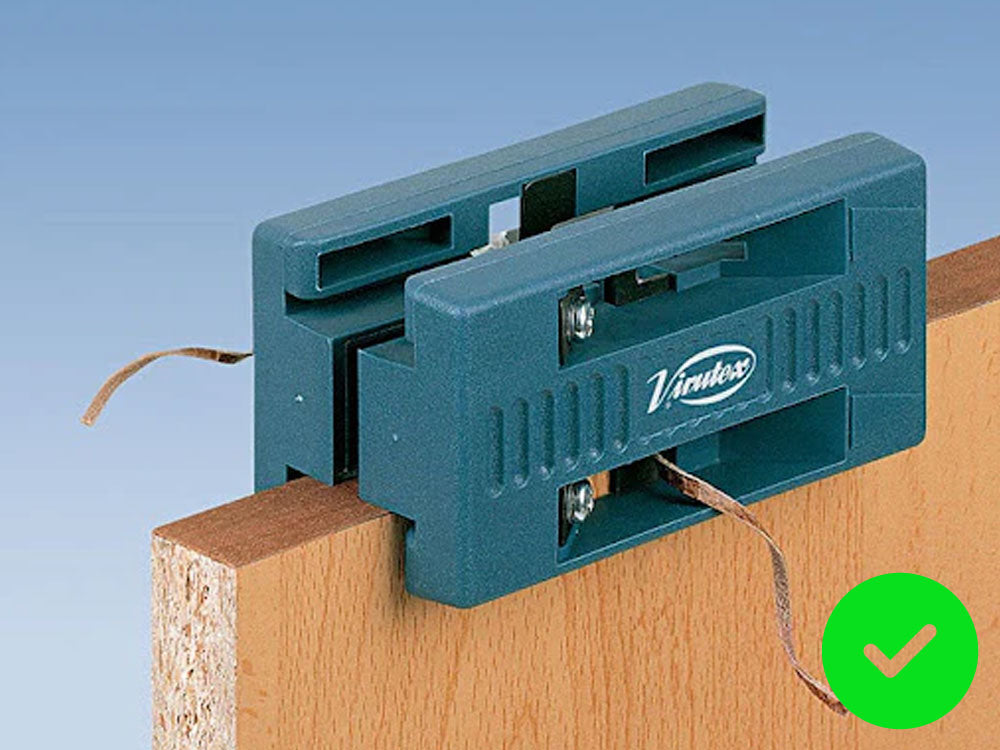

If you do use one of these trimmers, buy a good one, and make sure to cut the edgebanding down the grain and not up the grain to avoid tear-out. Otherwise, you can get your RO Sander or sanding block out again and sand along the corners where the board surface meets the edge, pressing the extra edgebanding down toward the board surface as you go.
Eventually, you will weaken that point on the edgebanding enough to easily cut it with your razor knife or a sharp chisel. If the lip is small enough, then you can just sand it away completely.
Repeat the steps above for all of the visible sides of your board, and it will be ready for finishing.
Tools for Finishing Veneer Edgebanding
You now have an edge banded board. Congratulations! Finishing the process is very simple.
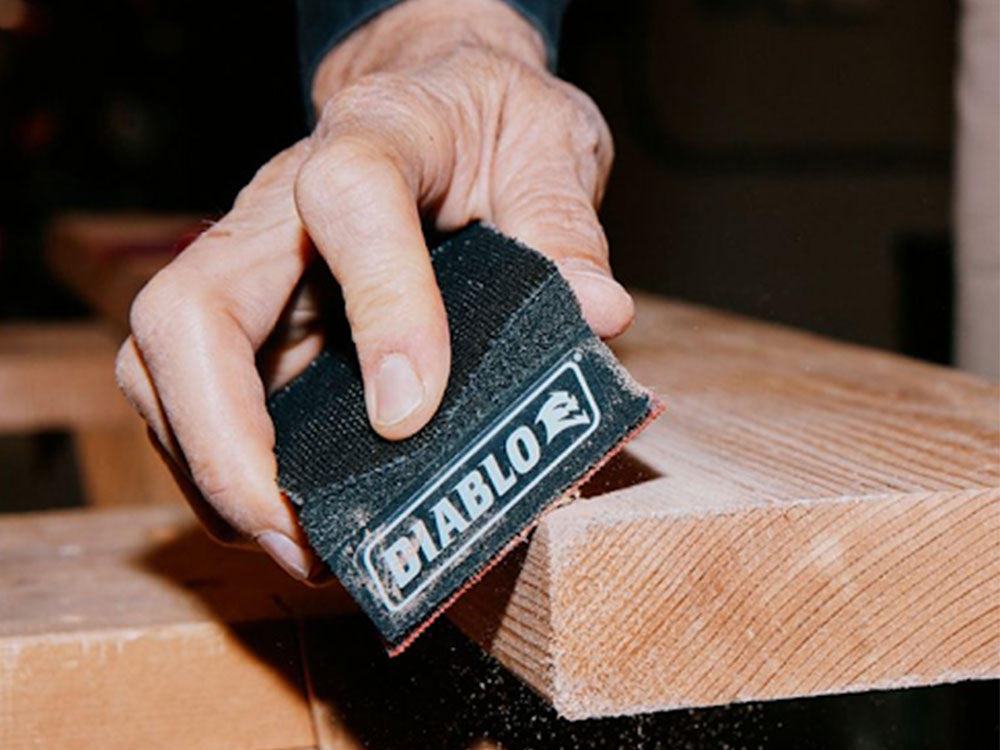
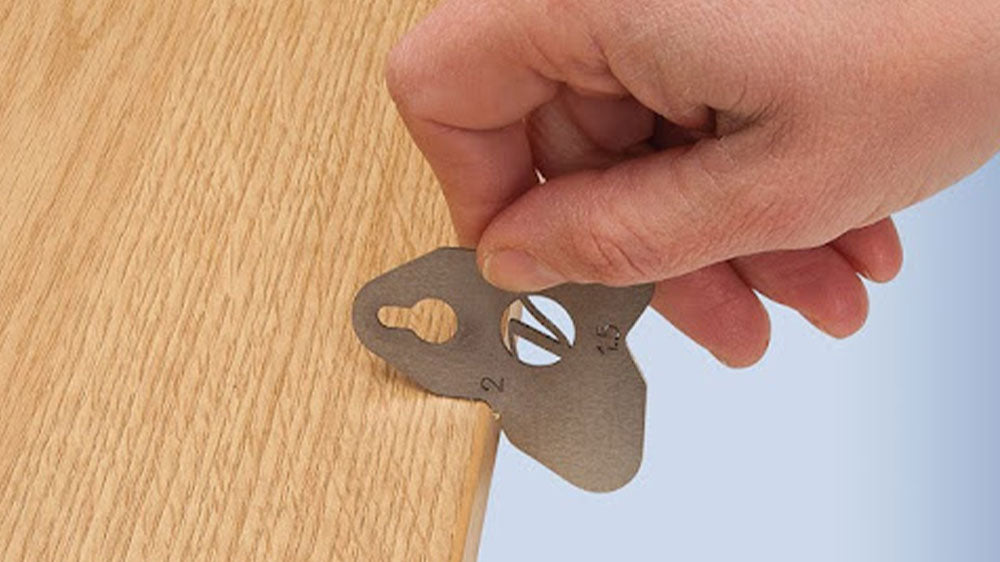
You can sand the surface of your veneer edgebanding just as you would the rest of the board. When it comes to the edges of the edgebanding, you can decide on the finished look that you wish to achieve. You could use a sanding sponge to make soft, rounded corners, or you could use a block or palm sander to make a sharp corner or a micro bevel. Here you can also utilize an Edgebanding Scraper to create a consistent bevel that will be easy to replicate throughout your whole project.
Once sanded, you can finish the edgebanding with the same treatment that you apply to the rest of the board. Since you are using solid wood veneer edgebanding, it will respond to stain, oil, varnish, paint, or any other finishes the same way that your plywood will.
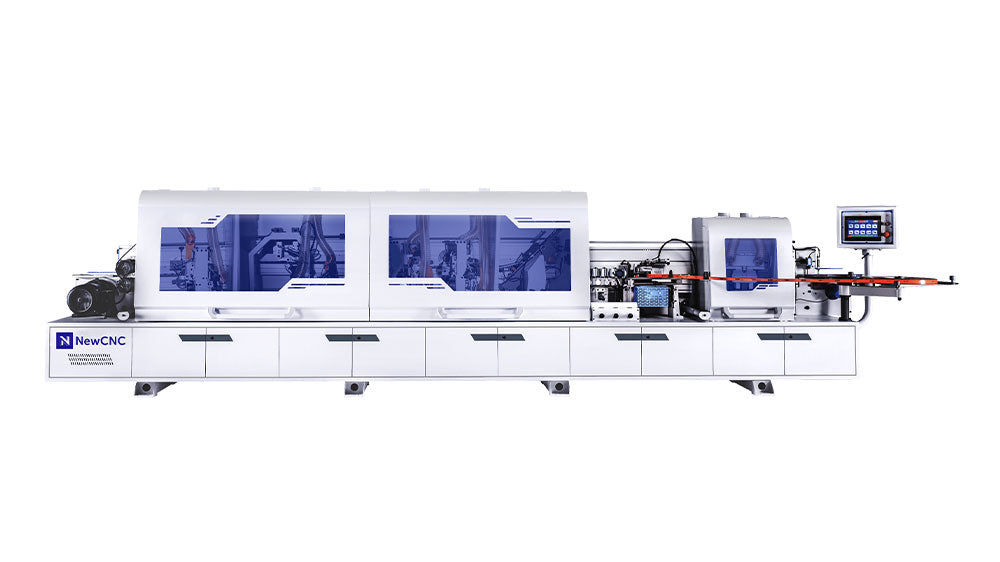
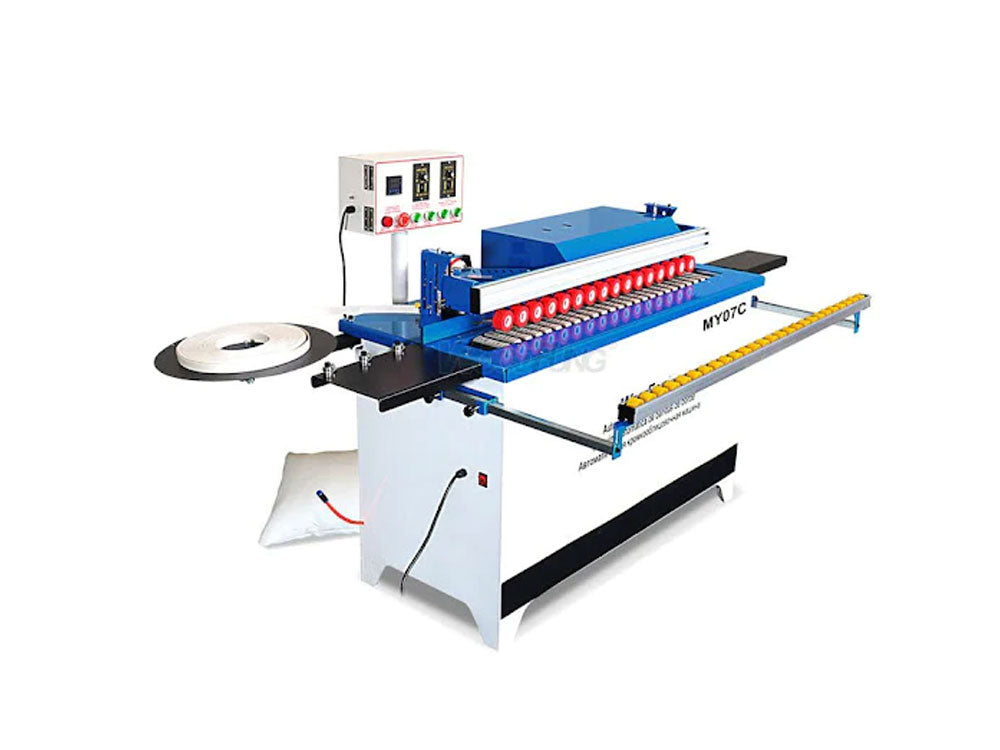
Automatic Edgebanders
If you are looking to produce a high volume of edge banded products, then you will probably want to invest in an automatic edgebander. There are many options available, and we will discuss the main categories that they fall into.
"Pre-Glued" Versus "Hot-Melt" Automatic Edgebanders
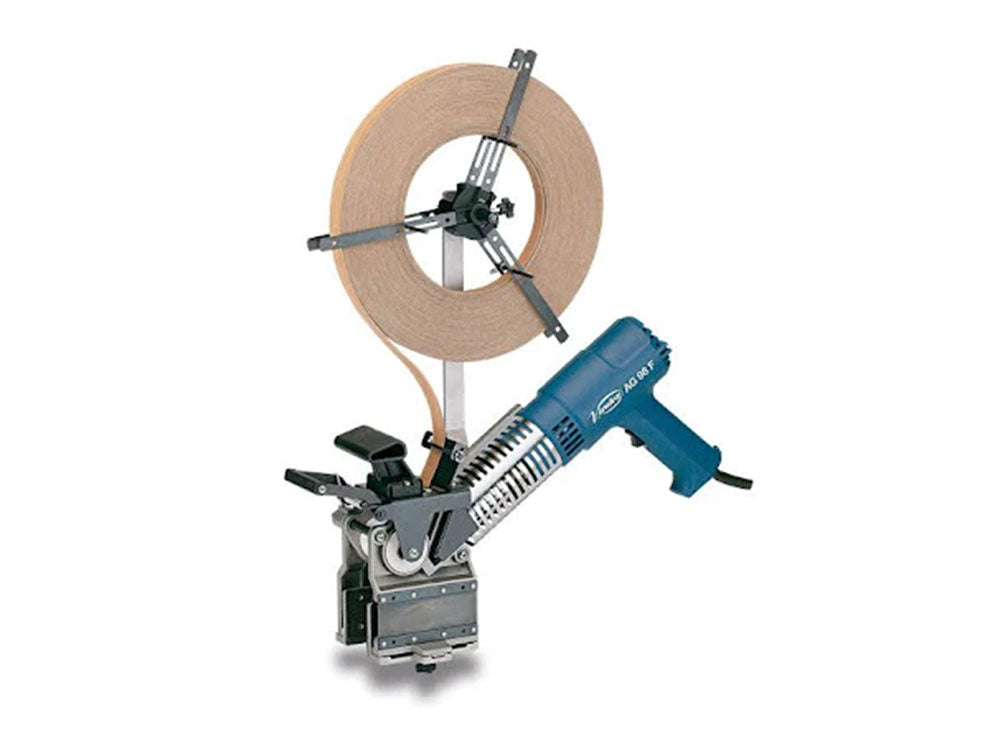
As we mentioned earlier, edgebanding can be purchased with heat-sensitive adhesive applied to it already, and there are machines designed to apply this material to your project edges. These are called Pre-Glued Automatic Edgebanders. Pre-Glued Edgebanders can use either hot air or a hot iron to apply heat to the edge banding as the board passes through the machine.
Edgebanding can also come with a fleece backing and no glue applied to it. This is called "Automatic" edgebanding, and is used in a Hot-Melt, or Glue-Pot, Edgebander. They are called "hot-melt" because they use glue that melts at high temperatures and solidifies when it cools. The glue comes in solid pellets which are placed into the machine's "glue pot." The glue is melted and applied to the edge banding and the board as they pass through the machine, which then presses them together.
The pre-glued machines are simple and relatively inexpensive, but the advantages stop there. These factors make them appealing to small time cabinet makers and hobbyists. Because they have no glue pot, they can even be made into handheld devices. However, the bond they produce is not as strong as the hot-melt machines, and the glue line is larger in the finished product.
Hot-Melt Edgebanders can be expensive, but there are economic options available. They produce the highest quality results, and to the serious craftsman, quality is everything.
Size and Features
Automatic Edgebanders can be small enough to fit in your hand, or large enough to fill a warehouse. Different models are available to meet the needs of any craftsman. Handheld models are the least efficient, but the cheapest and most portable. From there, price increases along with efficiency through the following basic classifications:
- Bench-top Portable
- Bench-top Bolt-on
- Free-Standing Portable
- Free-Standing Stationary Compact
- Free-Standing Stationary Full-Size
- Industrial
Any of these machines may or may not include edge-trimmers and sanders which, of course, increase the price and efficiency of the machine. The most high-powered edgebanders will complete the entire process of gluing, trimming, and sanding edge banding in seconds!
When you are considering the options available, it is important to consider your needs and projected business income and expenses, and also to consult other cabinetmakers to learn from their experience.
Short list of items needed to apply veneer edgebanding
There are many techniques to apply edge banding, and every cabinetmaker will offer a slight variation of the process that we have described Here is the most basic list of tools that you need to have on hand for excellent results on your edgebanding projects:
- Tape Measure
- Razor Knife
- Sharp Chisel
- Bench Vise
- Random Orbit Palm Sander
- Sandpaper and Sanding Block
- Flush Cut Pliers
- Painter's Tape
- Edge banding Iron or Household Clothing Iron
- Woodworking Roller
- Brushes, Rags, Rollers for Finish
Optional
- Edge Trimmer
- End Trimmer
- Scraper
- Automatic Edgebander


